So your thinking of getting a Pig or Cow to fill the freezer but how does the process go for breaking the animal down to usable delicious cuts?
We will Be going through Every Step for Turning Livestock into Food Stock
Growing our own livestock is a major accomplishment but is only half the battle. Yes great meat is vital but we also need to get it down into manageable parts for us to use and enjoy.
When going from a live animal who is running around to cuts that can be perfectly smoked or cured is very overwhelming at the start but once its complete and in the freezer there is no other experience on earth that will leave you with the self satisfaction and comfort you will feel.
Lets Go Through the Steps!
**Warning this will be covering some sensitive material reader discretion is advised**

Step One: The Slaughter
This is the step most people on the planet are not willing to take, which is totally understandable and is very tough to get through.
Our goal is to ensure all our animals only have one bad day in their lives and sadly this is the day we are talking about (unless you are a male pig or beef being castrated which would also be a bad day but is necessary). Hard truths but still truths none the less.
On slaughter day we ensure all the animals are as relaxed as possible. We give them treats to ensure they are focused on a very positive experience before we complete the slaughter. Pigs get beautiful saucers full of full fat milk and fruits. The cows get what ever treats they are given throughout their lives.
IMPORTANT TIP: For pigs ensure their treat is a liquid. This ensures the head will be stationary while they are drinking and not moving up and down while eating solid foods.
With a perfectly placed shot behind the ear going across the head the animal will drop instantly with zero pain or stress. Once dropped the animal is dead, another hard truth is the animal must bleed out to ensure clean tasting meat. The main arteries are cut and after a few minutes this process is also now complete. This is not a pretty procedure as the animals muscles can be triggering as the nervous system continues to fire but the animal has no feeling as it is dead on contact with the bullet (this is the death throughs of the animals body).
Congrats! The mentally and spiritually hard part is now complete. We know it takes a toll on us but we also appreciate the amazing sacrifices our animals make for us for giving them the best lives possible. Its a deep connection that cannot be explained.
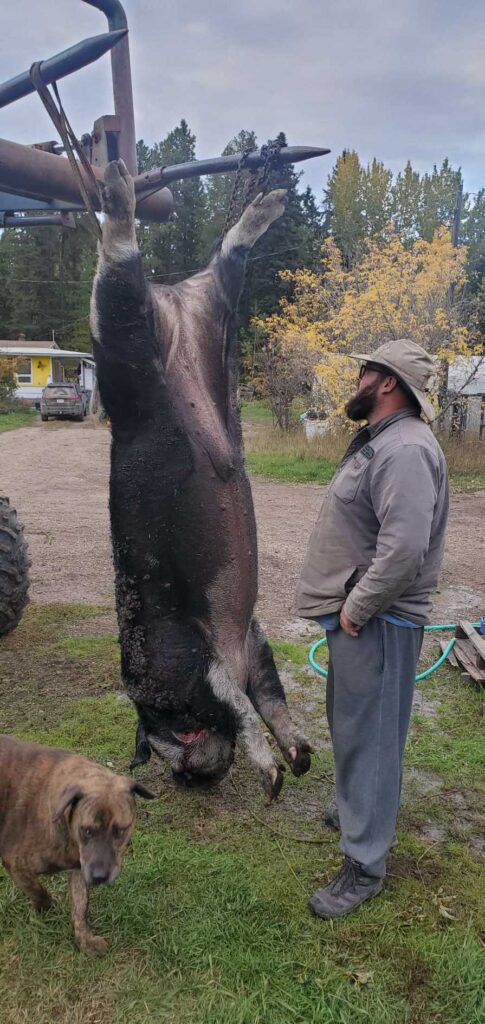
Step Two: The ol’ Skin and Gut
Once the animal is down and bled out then we must remove the skin and the entrails from our animal.
First we start with removing the front feet or hooves of the animal and the head which will be set aside to be used later.
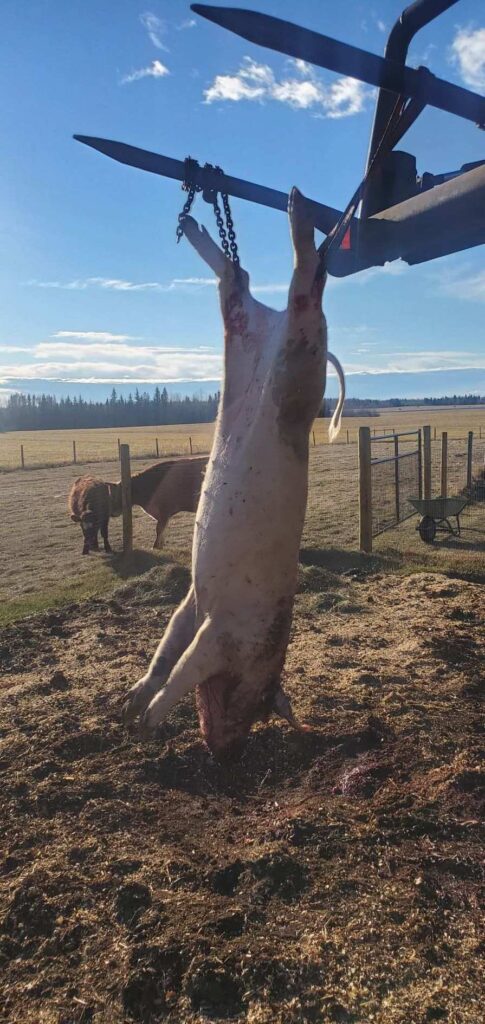
With two small cuts on the back legs we hoist the animal into the air and start to skin it with carful cuts allowing the skin to apron over the animal while working from the rear end towards the head. After a few minutes the skin will literally just pull off like a sock. While doing this you will see how the creator actually made all animals to be processed in a clean and efficient manner. Its truly perfect.
Now that our animals are totally naked, for lack of a better term, its time to remove the entrails. This is accomplished by carefully cutting around the butt hole to free it from the surrounding flesh. Once freed you make an incision down the belly of the animal until you hit the bottom of the ribs. Once this is complete most of the gut will fall out. You then reach in and grab the colon and pull with a steady pressure. This will come out fairly easily if the bum hole was released properly. Ensure you let it fall out and away from the animal to ensure there is no contamination from poop matter. Lets not get overly worried about this as it can be washed off immediately with no risk. Always have a hose or water source on hand! Be careful with the livers, there is a bile duct connected to them you do not want to puncher as it will taint the meat. Also check the liver for any spots or abnormalities, a healthy animal will have a deep dark coloured liver with no oddities.
Now that most of the entrails are removed we must now carefully cut the diaphragm to be able to remove the heart lungs and other vital organs. This will take some muscle pulling but it will all release and come out. Set these aside as they are very good meats or can at least be used for high quality pet food.
Congrats! Step two complete. This step will really work on your gut strength but now it gets way less gross and way more interesting!

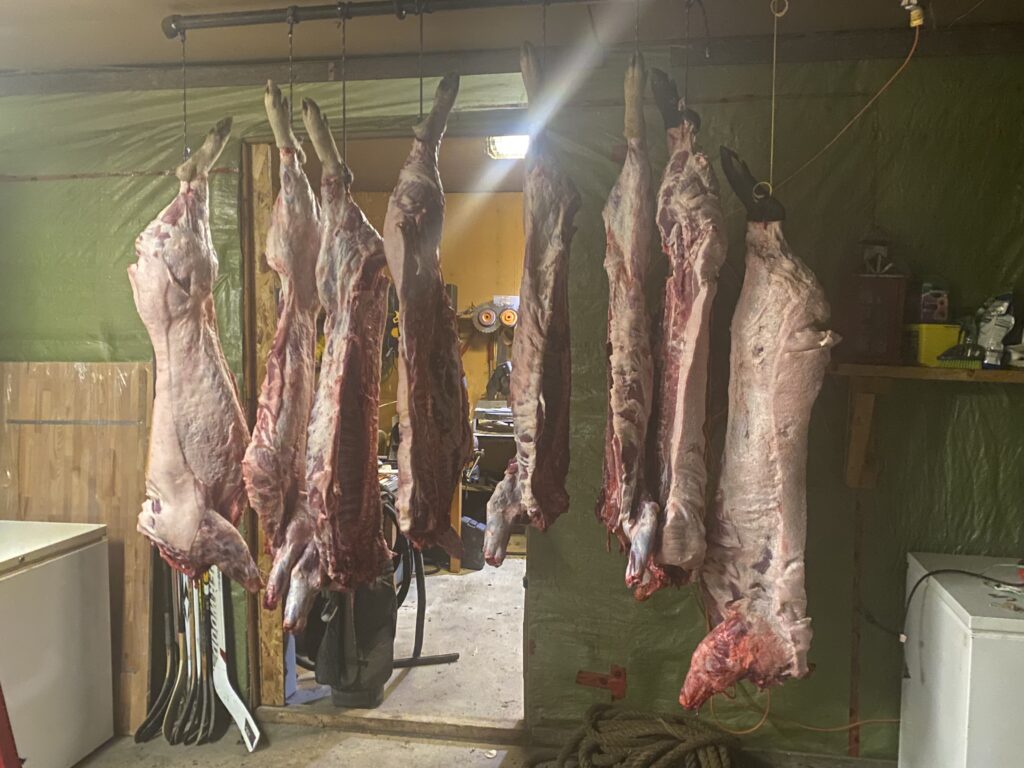
Step Three: Halving the Caracas
Alrighty, now we have a gutted and skinned animal hanging in the air. We must now break out the saw. This can be a hand meat saw, a saws all, or another saw that will be able to cut through the middle spin of the animal lengthways and through the front of the ribs.
First cut the ribs straight down from the cavity you created from the gutting. This cut will go all the way down the through the bottom of the animal. Once this is complete you now go behind the hanging animal and start to cut downwards from the tail area all the way until the animal is perfectly halved (its nice to have a spotter on the other side letting you know if you are going right down the middle or not).
Congrats! Step three is accomplished and you should have two animal halves that are ready to hit the butchering table! Take the rest of the day and overnight to let it hang/cool and really think about what was just accomplished! you are rocking it!
Step Four: Creating the Primal Cuts
We are not going to get into too much detail on what these cuts are in this blog as there are thousands of resources on the internet and in books to walk you through.
What we are accomplishing here is taking the caracas half and breaking it down now into manageable parts.
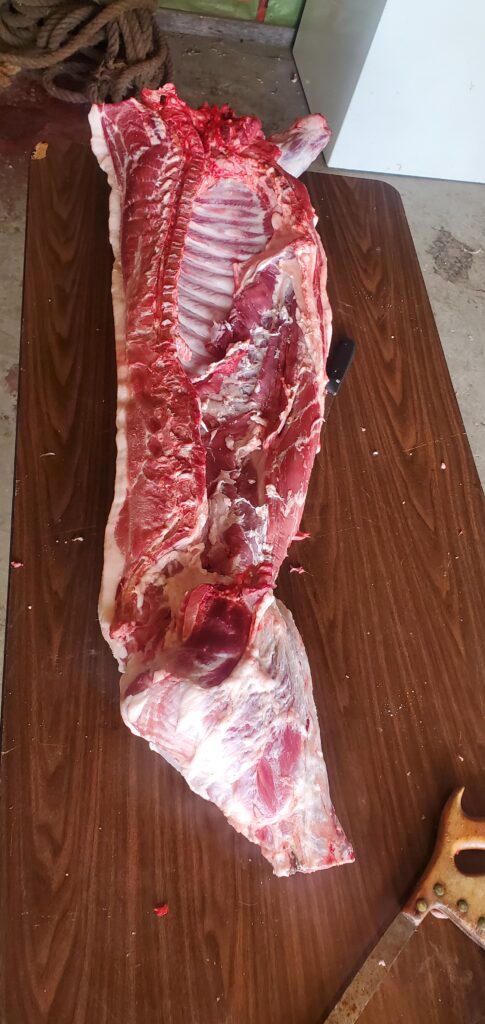
Here is a picture of some of the primal cuts of a pig we butchered:
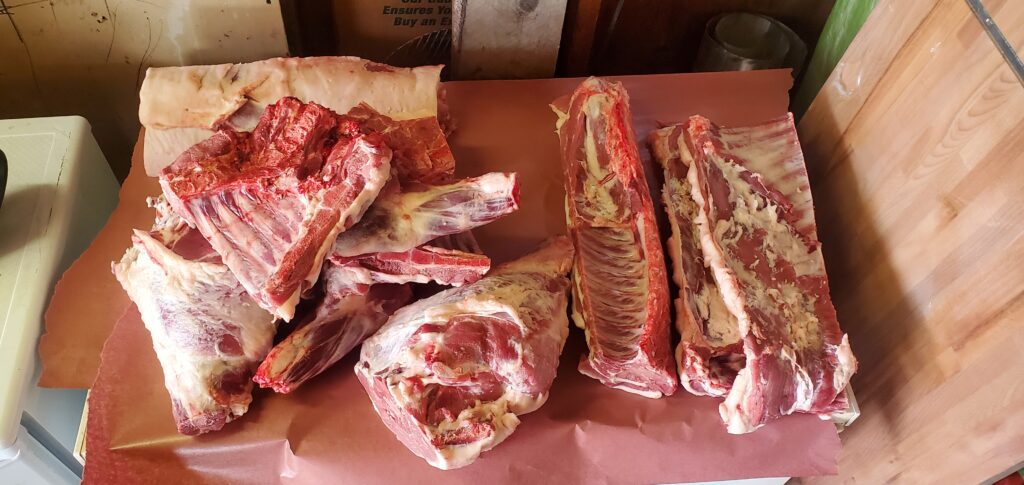
For this step we just section the animal into five larger cuts that we can now work on without taking up much space and not having to lug around heavy meat everywhere.
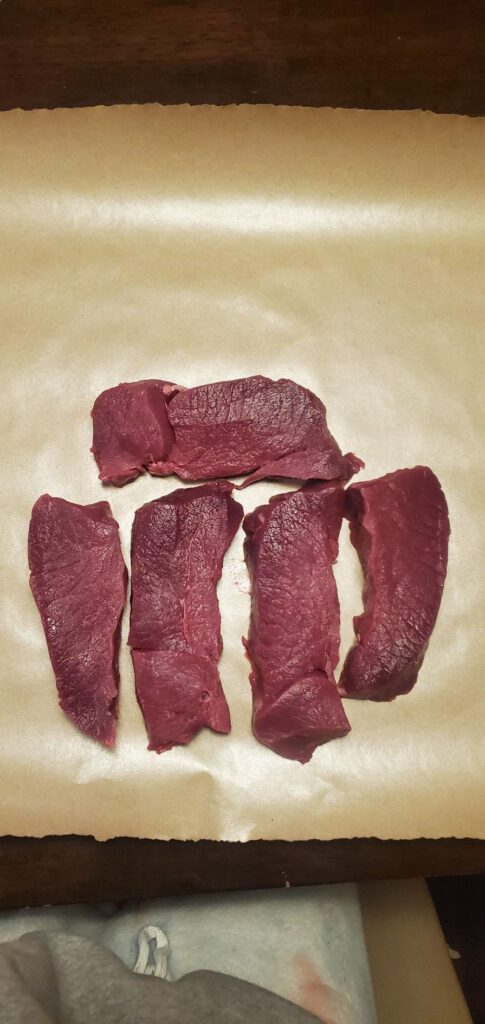
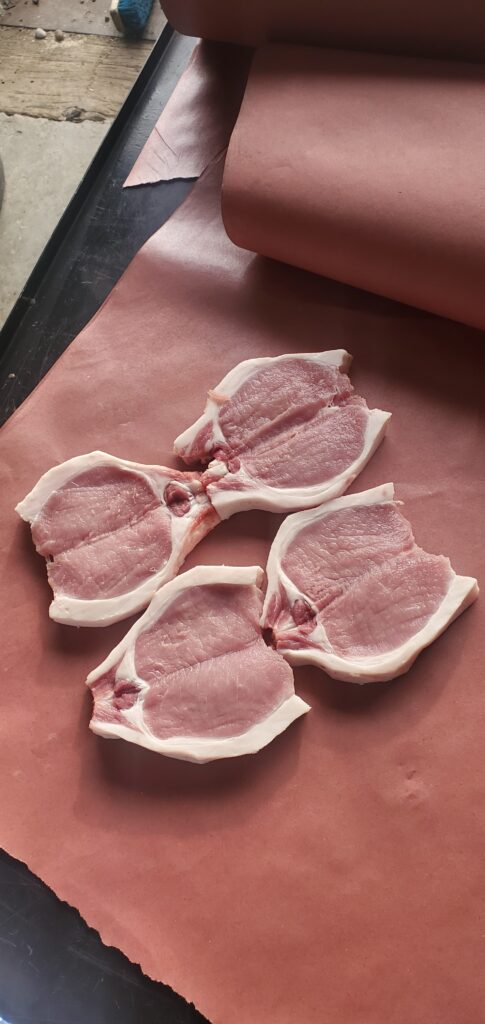
Step Five: Creating the Actual Cuts you Will Cook and Enjoy!
Okay! Now we are on the home stretch. We take the primal cuts and we go through making whatever you desire. We make roasts, shoulder for pulled porks, ribs, bone in or out chops, Loins (boneless chops/steaks/roasts from the best cuts of the animal), ground meat, etc
Again we wont go into major details here since that would be a boat load of information that is already available to everyone online and in books.
Step Six: Packaging Our Beautiful Product
Well this is the last step to the whole process. By this time you will be pretty tired but push through. This might be the last step but it is vitally important to the use of your meats! Unless you blind fold yourself when going to the freezer to get your cuts the eyes are what sees it first. If its nicely packaged you will want to eat it more and that means less crappy other food you might have on hand!
There are two ways to wrap your cuts. Butcher Paper or Vacuum Seal. Both work very well and it is just on personal preference.
We are working towards vacuum sealing all our products as it is a cleaner look and can see the meats we are wanting to eat.
Some things to ensure you do before you wrap or seal your meat. Ensure it is dry, this is stop the frosting of your meat giving it an undesirable look in the freezer. Space you meat out so they do not all freeze together making it a pain to separate while frozen before you cook it. Spread it all out and save major head aches later! Finally, label label label! Put what cut it is, when it was butchered, and the quantity on EVERYTHING!
Congrats! You now have perfect, nutritious, ethical, hormone free, and beautiful packaged meat for you and your family to enjoy!
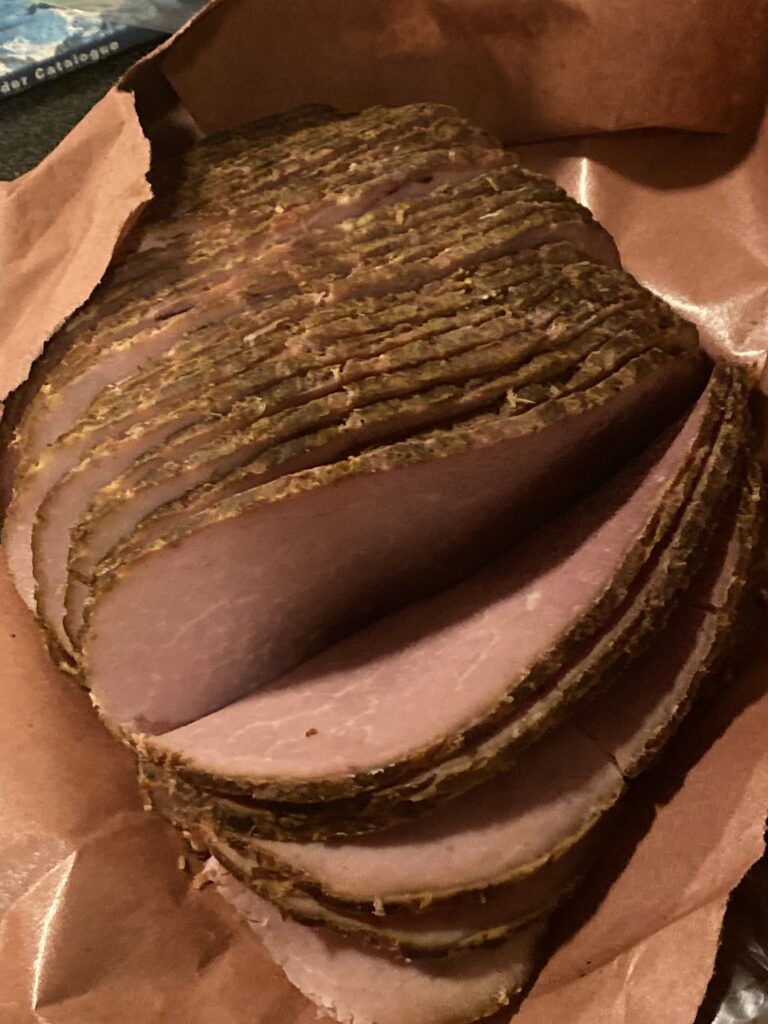
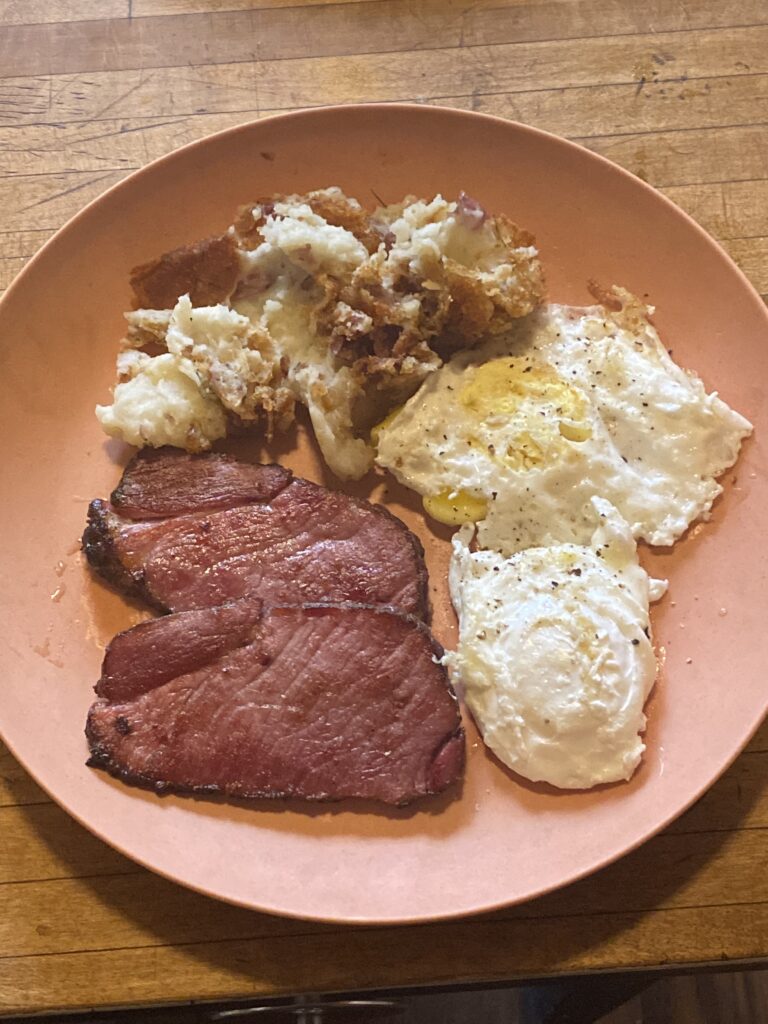
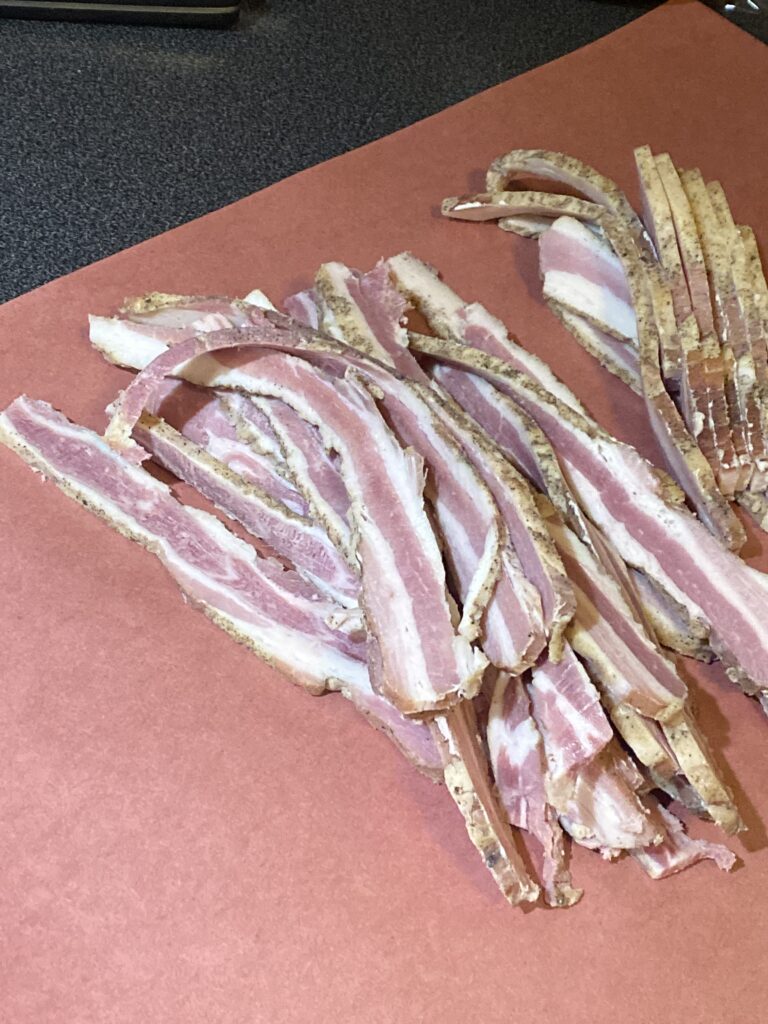
What is Not Included in Cut and Wrap
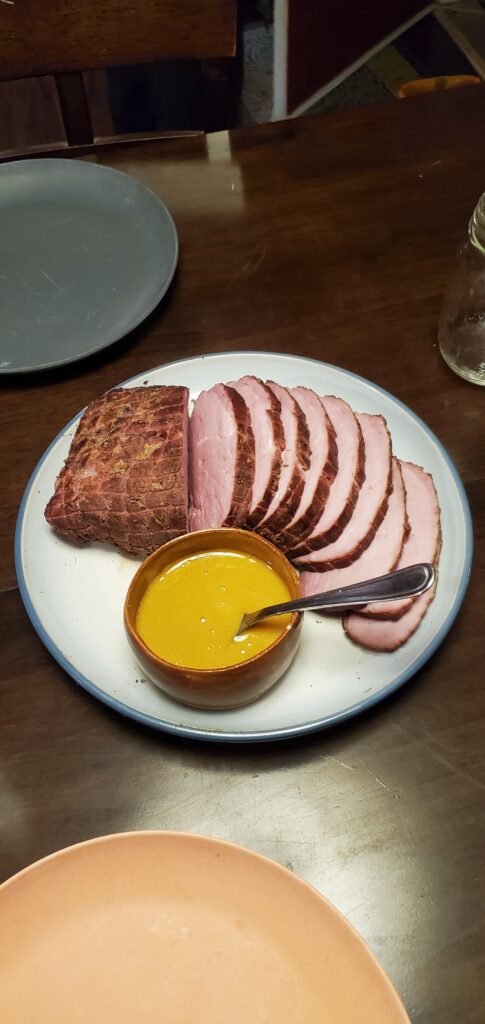
Items that are not included are anything that is cured, smoked. or processed. For example hams are all cured, bacon is cured and sometimes smoked, and sausages are processed further than just making the cuts. These items all come at a higher additional cost to the customer or they can do it at home on their own.
We recommend trying some curing at home to create your own flavours and spend some quality time with loved ones as you do it and as you enjoy your finished product!
Thanks for Reading and God Bless!
Feel Free to Leave a Comment, Catcha Next Time!
